Let me start by saying this.
Directing a mocap shoot is fun. It’s tiring – I mean it really took it out of me – but it was fun.
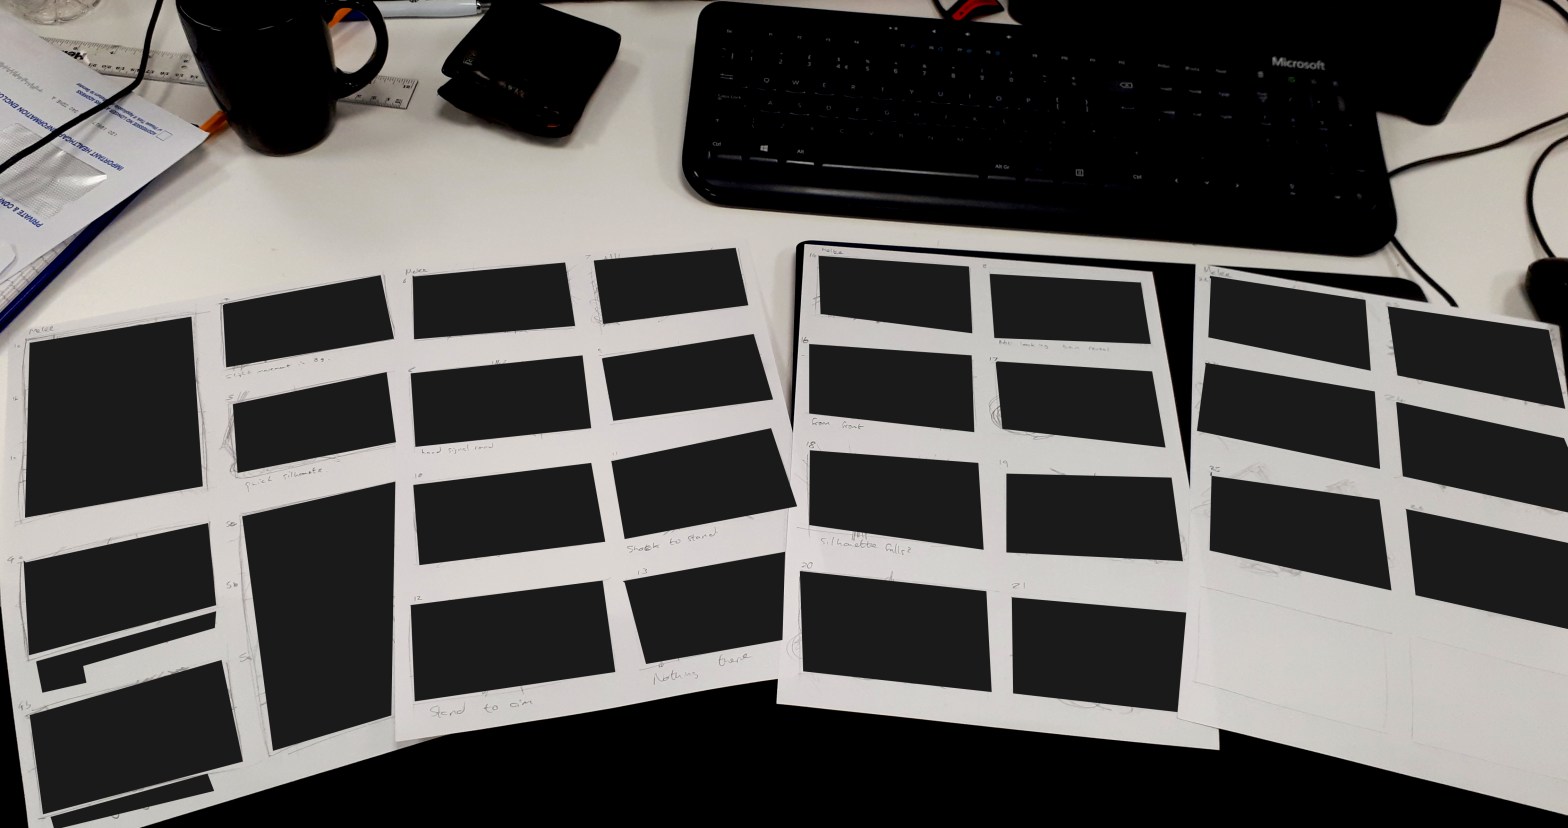
Sifting through all of the data, trying to find the best take is not fun. It’s just tiring.
I suppose it is like sifting through hours upon hours of film footage, watching the same shot again and again until you have decided which take you prefer. In fact, that’s exactly what it is.
Luckily I had my trusted spreadsheet. I had made a couple of notes here and there to help me know what I was looking for, and which takes I preferred during the shoot. Though I have to admit, I ignored this once or twice, choosing other takes over the ones I had previously suggested.
From Mocap To Maya
It took me a couple of days to export all of the takes I felt I wanted. In MVN Studio, exporting an fbx is easy, and when brought into Maya would either be shown as a HIK (HumaIK) skeleton, or a bunch of Locator nodes in a hierarchy (depending on your export settings).
Transferring the data onto the character rig using HIK is as simple as creating two character definitions, one for the character rig and another for the mocap, and setting the character definition to be driven by the mocap definition. If I set this up with the character and Mocap data referenced into a file, I can replace the referenced mocap with a new one, and the whole thing would work nicely, without having to set up the definitions for every file.
When working with a character that has its own control rig, all you need to do in addition to above is parent/point/orient (depending on any hidden or frozen channels) constrain the controls to the HIK rig being driven by the mocap data.
Finally you can bake the Mocap data onto the HIK rig it is driving, move those keys out of the way (the data I was dealing with tends to like to start at frame zero, and referenced keys dont like to be shifted, so shift them out of the way, usually sub-zero), replace the reference with the next load of Mocap data, bake to rig, shift it, replace mocap, bake it, and so on and so forth.
Now I know this may all sound like a confused blur, especially if you are not familiar with Maya. but that’s fine. I’m happy for you to gloss over that bit. The truth is that all week I have been working with mocap data which has been slow and quite irritating to work with, and now I am tired and fairly desperate to get away from the computer for the day! I’m literally writing this, not as a tutorial, but as a way of covering the bases.
One this is for sure, I miss key-frame animation.
Previs
So Layout, in case you’re not aware, is basically the term used for placing cameras, whitebox environments and characters in place, creating a scene that will eventually feed through to the final piece.
Myself and our Intern, Calamity Joe, decided we would do the layout in two different ways. Calamity would get everything into Unreal Engine as soon as he could, opting to use the Sequencer to create the layout. instantly he has the animations, and can seamlessly blend from one to another if he needs to edit them. He can place the characters on a per-shot basis, with great looking lighting and atmosphere effects at the click of a button. He can choose to edit his scene in the Sequencer Timeline as simple as pushing shots around in and editing software.
I, on the other hand, decided to be old school and do everything in Maya.
Big mistake.
On top of that, I chose to do everything on a per-character basis rather than a per-shot basis, meaning I am compiling the entire sequence of shots in one maya file for Hero-A (name changed due to NDA) and a second maya file for Hero-B (name changed due to NDA), opting to reference the Scene file (which has the camera work and prop layout in it) and any other files I need into the files I was working for.
Now I know that doesn’t read well. I reads as straight forward as the process feels.
Bangs head against the wall.
And Why? why bother doing it this way and give myself a headache? Well, my background is in hand-keyed animation. When doing layout with hand-key, you have full control over timing, positions, movement. You can tweak as you go if you’re not happy with something, but when you have mocap data to deal with, especially mocap data that doesnt fit with the timings you’re after, it’s really not that simple any more.
But do you know what? Despite flipping from file to file, chopping up motion and roughly sticking it together, despite spending ages waiting for keys to shift or scale, I’m quite happy with the outcome; the layout looks like the storyboard, and though I know certain motions need to be cleaned up, or transitions need to be made smooth, as proof of concept, the piece works.
An Iterative Process
My favourite element in all of this has been sorting out the cameras. I love being able to frame what the audience will see, to tell stories with how action is framed, and also use tools like focal length to draw out different feelings in the shot. I know the camera work will need to be recreated in UE4, and that’s fine, but all of the creative work is done, and the because of this, the layout works.
Now you cant animate the cameras before you have the characters in, otherwise you are not sure what you’re shooting, and you cant finalise the characters until you have a decent camera pass. As such, this was a very iterative process, getting the rough estimations down, planting where the camera could be, then playing with the characters, tightening up the cameras, then tightening up the characters. Going back and forth until I had something more polished than it was before, seeing things that weren’t working suddenly look good.
And after all, isn’t that what the creative process is all about? Start off messy and sculpt the lines. My old tutor, he’s not on our project, so I have no need to give him a false name, but I like to do that anyway so lets call him Harvard Tewkesberry, once told me that animating is like making a cake – you have to get the cake down first – that is the main bulk of substance – before you do the icing – that is the detail and polish. And for me, making a cake has always been a messy affair.
Still, I am encouraged when ever I see something go from being a complete mess to being a cake. Something of substance. Something that looks good, and has potential.
And that’s where this project is up to now.
I am going to do some tweeks and get a playblast into Premier Pro, where I will try to tighten the edit, make it look and feel better, I will then make any changes required in Maya, and get things ready to throw into engine next week.
Sleep time now.
Oz Out.
