
Afternoon All!
If you haven’t checked out Part One of this write up, go ahead! It will tell you a couple of things about the animation process and how I created the motion. This post is going to be all about the Unreal Engine, and the joys of making this piece look cool!
This all came about because my Lead at work had been working on a really nice robot, which he had modelled and animated. It looked pretty sweet, but when he brought it into an unreal environment that he created, it blew me away! How could someone create and render something that looked so good in such a short amount of time?
I wanted to do that!
Sequencer
The first thing to mention is that the Psylocke Rig I used didn’t want to work straight off the shelf. I had to simplify the rig a little, which unfortunately meant loosing any facial animation I had done. But once I had discovered this, the export process from Maya to Unreal was straight forward.
I wanted start off by getting my proxy environment exported and into engine, followed by the camera, then the character and finally anything else needed (namely the branch she swings from). Most things were quite simple to export and import and eventually I had a nice, albeit rough looking cinematic. I will expand on these in the following sections.
Environment
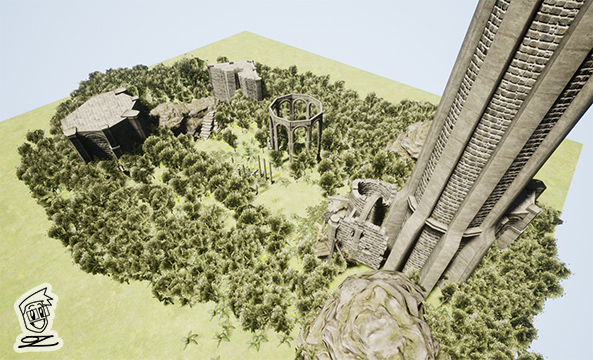
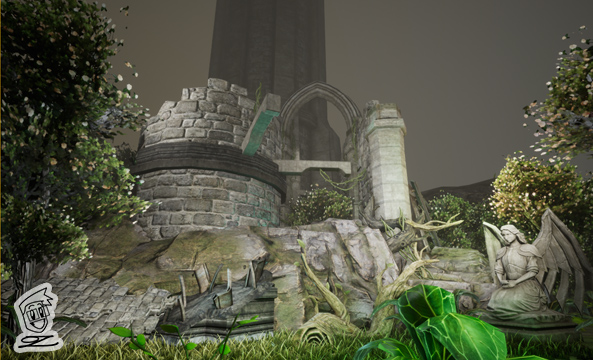
With my simple proxy environment in engine, I went searching for environment assets to occupy the space. Epic games have a wealth of assets free to download and use. I chose the Infinity Blade: Grass Lands package, and apart from the typical difficulty of figuring out how to navigate a new software, on the most part populating the environment was as simple as drag-and-drop position-rotate-and-scale.
The assets I had available to me would determine the setting of the animation (well duh!) and I decided the castle/ruins style area would be a cool change from the jungle setting in the original cinematic.


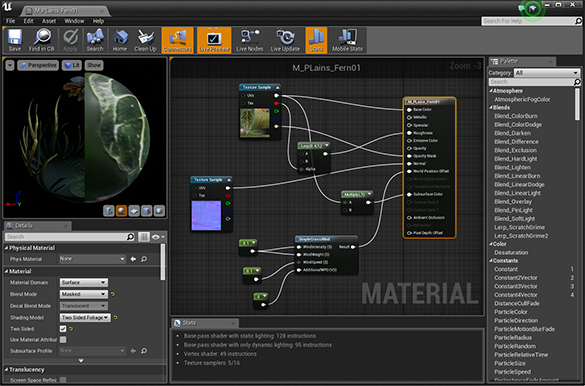
Part way through the project I had to get rid of a couple of assets which meant I had to repopulate the environment. I could have used the Paint Foliage feature in Unreal to paint the trees and plants into place, but decided I wanted more control over them; because my camera was fixed, I wanted to make sure each frame looked good and nothing got in the way. In a similar way, you may notice in the shots above that the grass is very patchy. I placed the grass assets only where I needed them for each shot, and scaled them so they didn’t distract from the animation. For the shot where the character slides along the ground, I also had to open up the material, where a wind modifier controlled a procedural wavering animation that was far to distracting.
Camera
Sequencer is such a powerful tool, and really easy to work with. Because I had set out all of my camera work in Maya and exported it across, I thought it would automatically work; one camera stepping from one view to another. However, because the cameras were animated at 30fps and UE4 works at whateverItWants fps, the animation had some weird flits between cuts; it was tweening from one position to another for a fraction of a second, and motion-blurring the whole screen.
Sequencer allows you to create individual shots and work with them in a time line similar to any editing software. Inside each shot you will have your camera and any actor you need animated for that shot. For me, this was simply camera and the character, but could be geometry, lights, anything else.

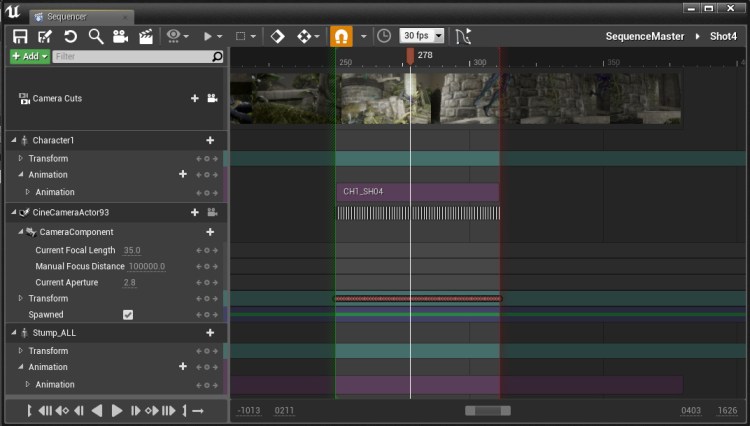
In the above shot, I have my camera with all of it’s position and rotation data as well as a way to amend focal length and depth of field. I also have the character and the stump she swings from, and their individual animation tracks for that shot.
It might be important to note that the camera fbx is imported directly into sequencer, as opposed to bring it into the contend browser as a Uasset.
Animations
The export and import process for the character is very straight forward. All you need to do is select what you want to export – typically the mesh and joints driving it, and export selected as an .fbx. In UE4, this one file will separate out into the Skeletal Mesh (actual character), Skeleton, Physics Asset, Animation (if any) and all materials and textures used on the mesh in Maya.


After that, for any animation file you need to add, simply select the root of the joints in Maya and export them, remembering to bake animation. Bringing them into UE4, a pop up would ask you which skeleton this animation belongs to, point it to the character you need, and the job’s a good ‘un! I used Maya’s Game Exporter to divide the animation up into shots. This not only made it easier to correctly line the shots up in sequencer, but again avoids any strange issues due to blocking between shots as mentioned in the Camera section above.
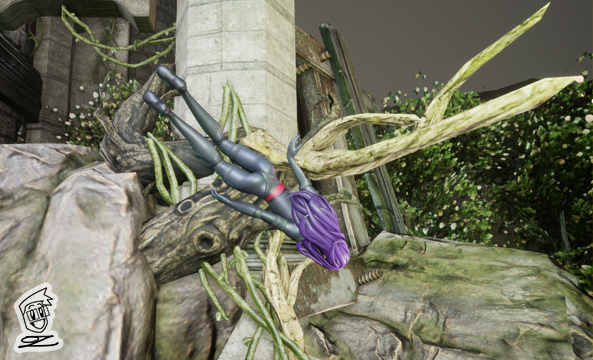
In a same way, the branch the character swings off needed to go through the same process, rigging it up and exporting it with the animation.
Once in engine, I added a socket to the branch rig, which allowed me to add a game asset to the hierarchy. In this case, it was a piece of wood. and with a bit of scaling, she was swinging with the best of them!
Lighting and Rendering
Lastly I had the joys of trying to light the whole thing. I would be the first to admit that I am not a lighting artist, and the thought of having one skylight to illuminate the whole scene is a saving grace for me. However, I wanted some form of atmosphere for the piece. And I’m not going to lie… it took me a long while to get the lighting to a place I was happy with.
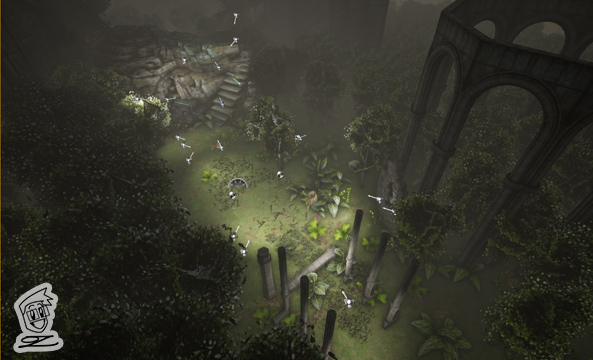


Each shot was individually lit with spotlights. I gave the whole scene a slight foggy atmosphere and change the skylight to look like it was night time (as best I knew how!).
I faced two tricky situations here; One was how to make the character stand out from the background – how to make sure that she is the main focus of the piece- and the other was how to make the branch stand out.
On the most part it was difficult to make out what the character was swinging from in that fourth shot. It was a tough call, to be honest. She needed a branch, and that branch couldn’t just come out of the side of a pillar, and as such, needed a tree to emerge from. To change this, I changed the colour of the background tree to a significantly darker brown than the swinging branch. This was a cheat, knowing the light draws the eye and contrast separates objects. But I would have to make sure that the character was lit as best I could; utilising a three light setup wherever I could without making it obvious that she has gone from under one light and into the next. I also used slightly off-white colours to give different definitions and bring out different colours in the environment. Lastly, made the decision that most lights should not cast shadows. with too many shadows turned on, the action was muddied, and I instead chose to rely on Ambient Occlusion to give a sense of shadow.
Well… that’s almost it from me. However, I want to talk about how I pushed the animation a little bit more with a bit of help from The Internet, and as such, Part Three will be all about Polish.
Cheers for reading, guys!


2 thoughts on “LOL Cinematic Animation Exercise Part 2”